

Contents
Welcome to the world of PIC Microcontrollers. You are in the right place if you are a beginner in the filed of microcontrollers. MikroC is the best compiler for beginners as it contains built in functions for most of the commonly used tasks. But MikroC is less efficient and the hex file generated will be large size compared to other compilers. So I suggest you to use Hi-Tech C compiler by Microchip after you get familiar with microcontrollers. Note that, Hi-Tech C is a bit difficult compared to MikroC as there is no built in functions. You can follow our Hi-Tech C Tutorials.
Getting Started with MikroC Pro
You can buy mikroC form mikroElectronika or download a trial version here. Trial Version is limited to 2k of program words and is sufficient for most of our applications.
- Download and Install MikroC Pro
- Create a Folder for this project in any of your drives
- Open microC Pro For PIC
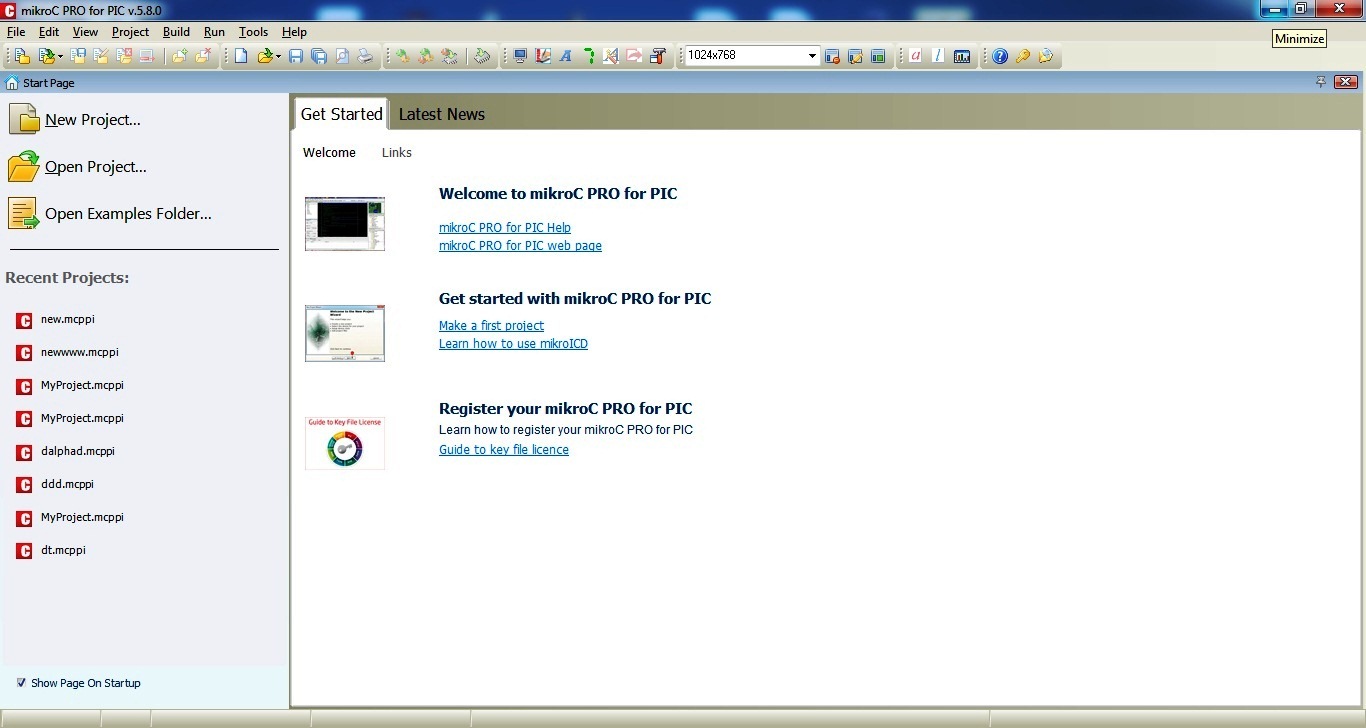
- Click on Project >> New Project
- Click Next

- Enter Project name, path (created folder path), clock frequency, microcontroller and click Next. Clock Frequency is the frequency of oscillator used with microcontroller. Here we use PIC 16F877A microcontroller with 8MHz crystal.

- Here you can add your subprogram files or user defined header files in large projects. Hence we are dealing with simple LED Blinking in this tutorial, ignore it and click Next.
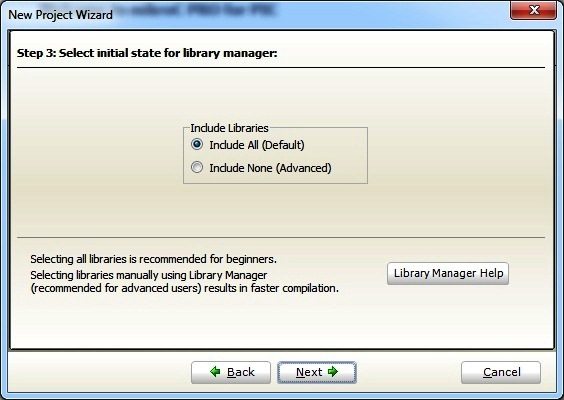
- Here you can add MikroC’s built in libraries such as UART, PWM, LCD etc… You may include All Libraries or include None. If you select None, then you can selectively include required libraries later. Then click Next.
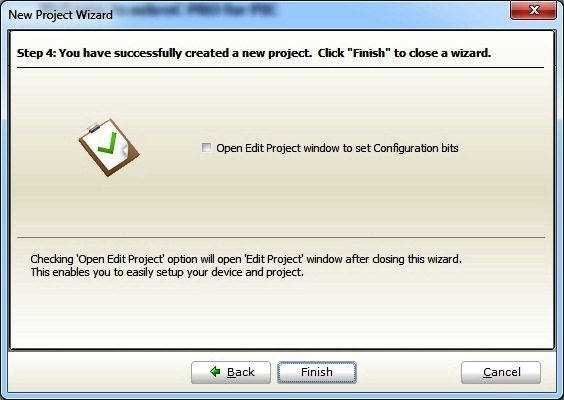
- Click Finish, to complete the New Project Wizard.
- Then you will see the editor, where you can enter the MikroC Code.
MikroC Programming
Before going to the programming you should understand the following things.
- Output pins of a PIC Microcontroller is divided in to different PORTS containing a group of GPIO (General Purpose Input Output Pins) pins.
- In 16F PIC Microcontrollers, there are two registers associated with a port, TRIS and PORT. eg: TRISB, PORTB, TRISC, PORTC
- TRIS stands for Tri-State, which determines the direction of each GPIO pin. Logic 1 at a particular bit of TRIS register makes the corresponding pin Input and Logic 0 at a particular bit of TRIS register makes the corresponding pin Output. An Input pin of PIC Microcontroller have very high input impedance, thus it may said to be in Hi-Impedance state.
- PORT register is used to read data from or write data to GPIO pins. Logic 1 at a particular bit of PORT register makes the corresponding pin at Logic High (VDD) and Logic 0 at a particular bit of PORT register makes the corresponding pin at Logic Low (VSS) if that pin is an Output pin (TRIS bit is 0).
- PORT register can be used to read digital data from an Input pin. Logic 1 indicates the pin is at Logic High and Logic 0 indicates that the pin is at Logic Low.

- You can write to PORT and TRIS register entirely or bit by bit.
Writing Bit by Bit :
TRISC.F0 = 1; //Makes 0th bit of PORTC Input
TRISC.F5 = 0; //Makes 5th bit of PORTC Output
PORTB.F3 = 1; //Makes 3ed bit of PORTB at Logic High
PORTB.F7 = 0; //Makes 7th bit of PORTB at Logic Low
Writing Entire Register
You should be familiar with following C Programming concepts.
- A number with a prefix ‘0b’ indicates a binary number.
- A number with a prefix ‘0’ indicates an octal number.
- A number with a prefix ‘0x’ indicates a hexadecimal number.
- A number without prefix is a decimal number.
Let’s see some examples…
| Decimal | Binary | Octal | Hexadecimal |
|---|---|---|---|
| 0 | 0b00000000 | 00 | 0x00 |
| 1 | 0b00000001 | 01 | 0x01 |
| 128 | 0b10000000 | 0200 | 0x80 |
| 255 | 0b11111111 | 0377 | 0xFF |
PORTB = 0xFF; //Makes all pins of PORTB Logic High
TRISC = 0x00; //Makes all pins of TRISC Output
PORTD = 128; //Makes 7th bit of PORTD Logic High
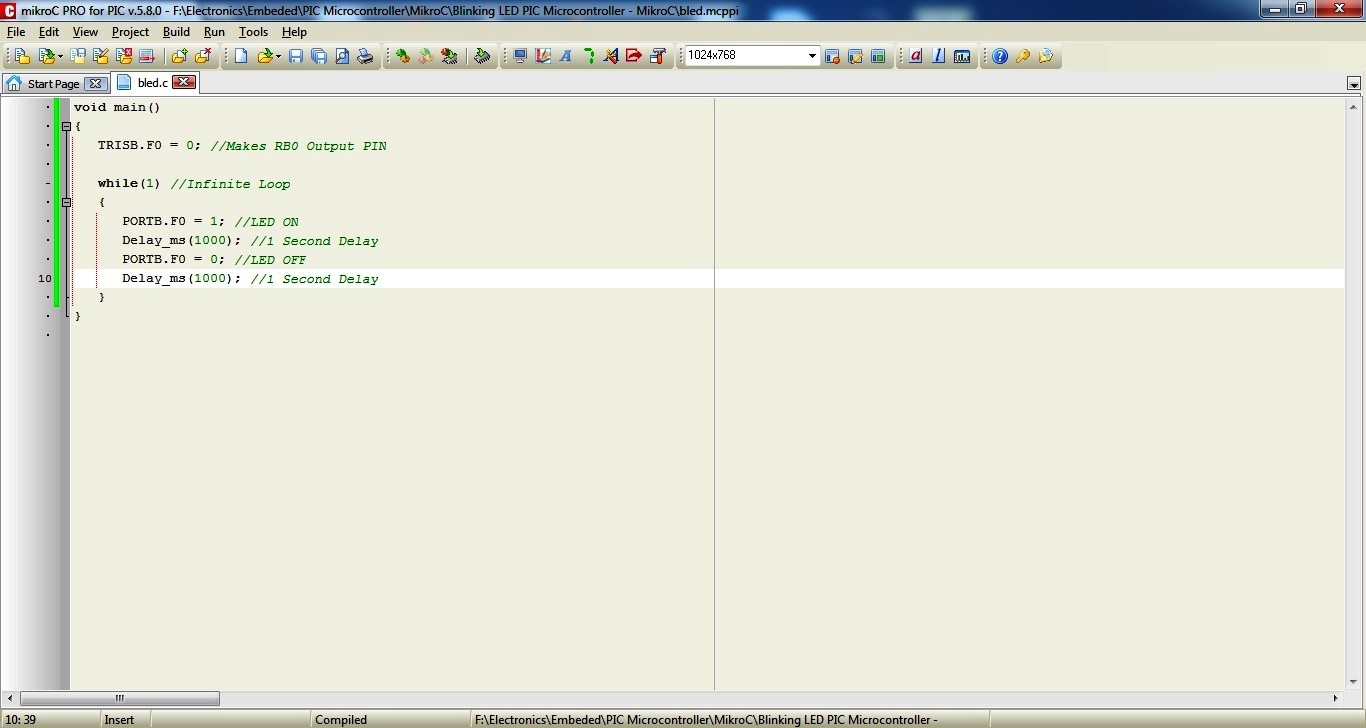
MikroC Code – Blinking an LED
The following program blinks an LED with a delay of 1 second.
void main()
{
  TRISB.F0 = 0; //Makes PORTB0 or RB0 Output Pin

  while(1) //Infinite Loop
  {
    PORTB.F0 = 1; //LED ON
    Delay_ms(1000); //1 Second Delay
    PORTB.F0 = 0; //LED OFF
    Delay_ms(1000); //1 Second Delay
  }
}
Note : Delay_ms(const unsigned long a) is a built in function of MikroC Pro which provides a delay of ‘a’ milliseconds. The variable ‘a’ must be a constant of type unsigned long integer.
- Enter the above MikroC code
- Save it
- Then Compile it. Click Build >> Build (or Ctrl+F9)
A hex file will be generated in your Project Folder. You need to write this file to microcontroller using a programmer.
Circuit Diagram
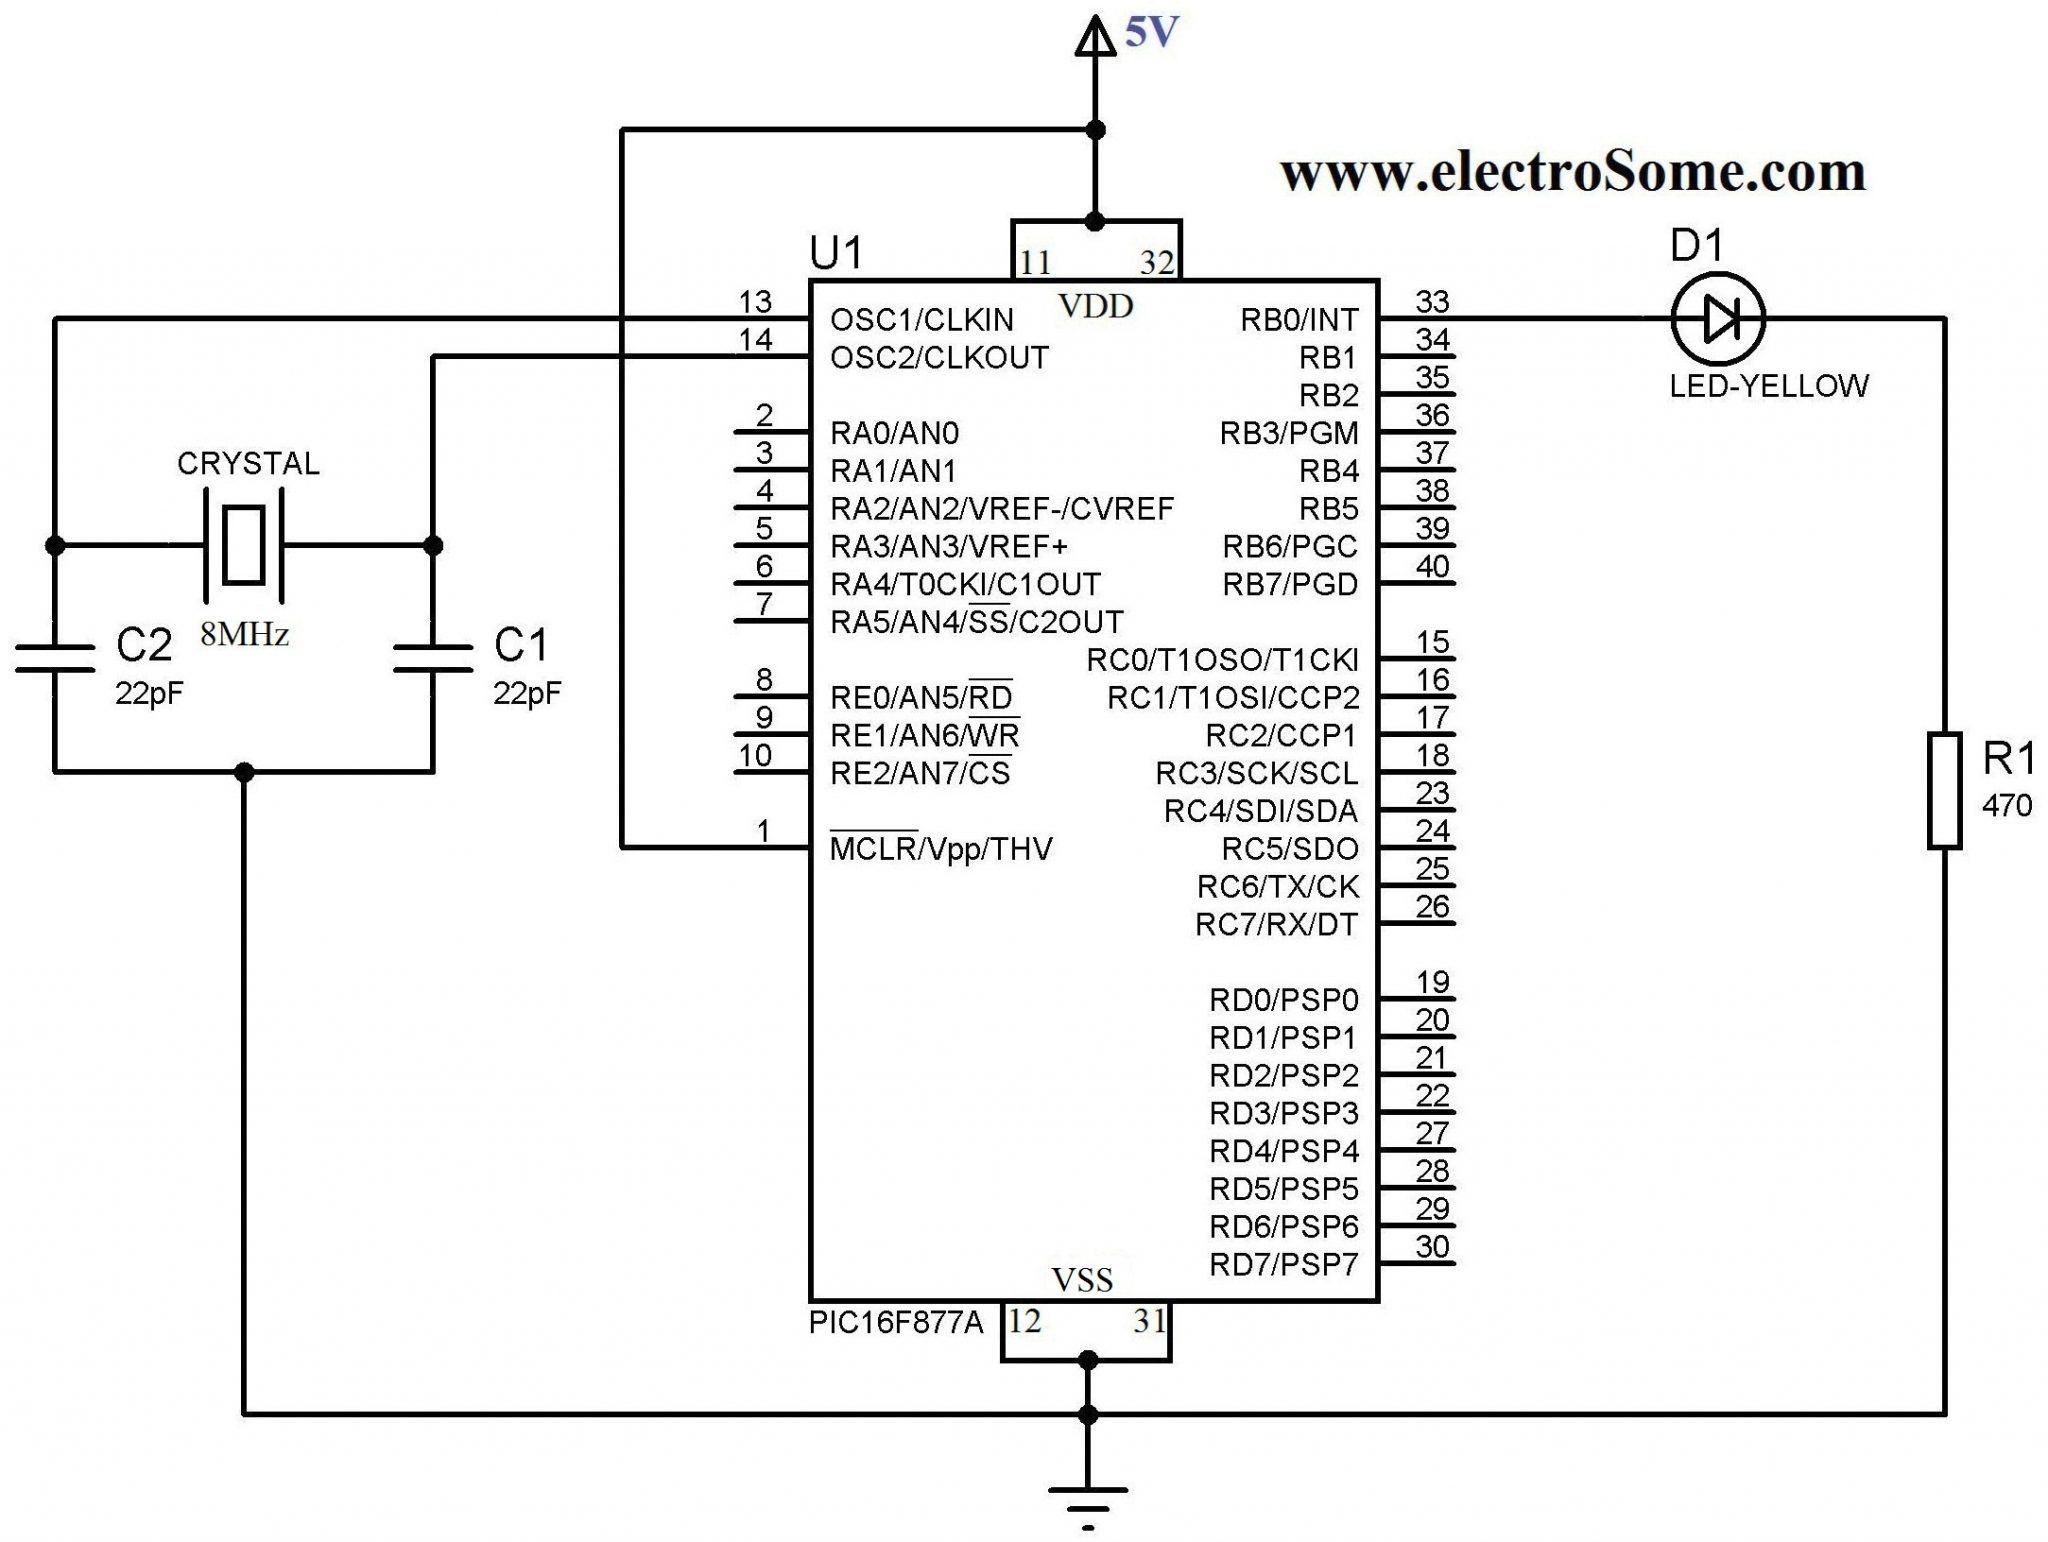
VDD and VSS of PIC Microcontroller is connected to +5V and GND respectively to provide necessary power for the operation of the microcontroller. 8MHz crystal is used to provide necessary clock for the microcontroller. 22pF capacitors stabilizes the oscillations of the crystal. LED is connected to the 0th bit of PORTB and a 470Ω resistor is connected in series to limit the current through the LED.
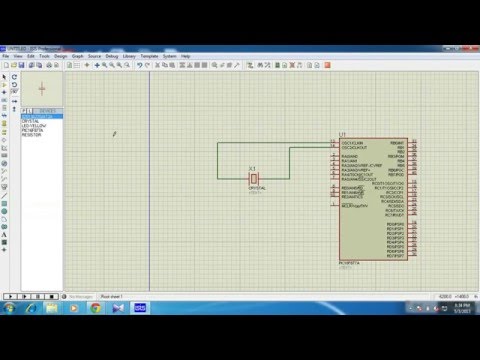
You can simulate the working in Proteus. If you haven’t yet started with Proteus, please try this tutorial. Also see the following video.
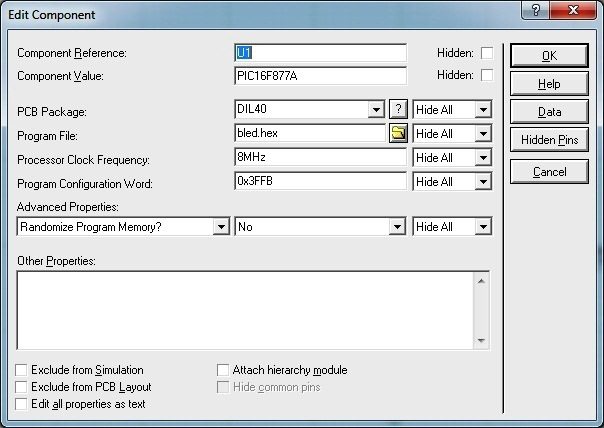
Don’t forget to set the clock frequency and to add the hex file in your project folder by editing the properties of PIC Microcontroller as shown below.
Hardware Implementation
You can wire this circuit in breadboard after writing the hex file to PIC 16F877A using a programmer and verify the output. I am using the Microchip’s PICKit2 for programming the microcontroller. You may buy PICKit2 or try to make one.
Programming
Connect the PIC 16F877A microcontroller to PICKit2 in the following manner.
- Connect VPP of PICKit2 to MCLR (1st pin) of PIC 16F877A
- Connect VDD of PICKit2 to VDD (11 and/or 32 pins) of PIC 16F877A
- Connect VSS of PICKit2 to VSS (12 and/or 31 pins) of PIC 16F877A
- Connect PGD of PICKit2 to PGD (40th pin) of PIC 16F877A
- Connect PGC of PICKit2 to PGC (39th pin) of PIC 16F877A
Then connect the programmer to PC and open the PICKit2 Software.
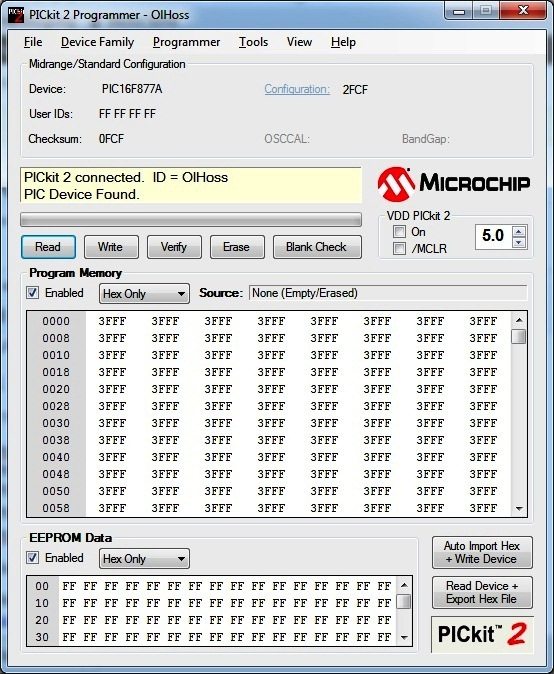
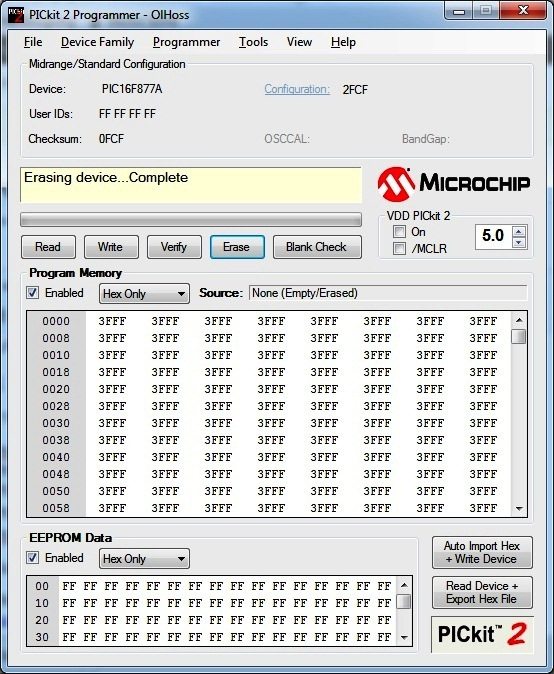
- Erase the data in the Microcontroller, click Erase
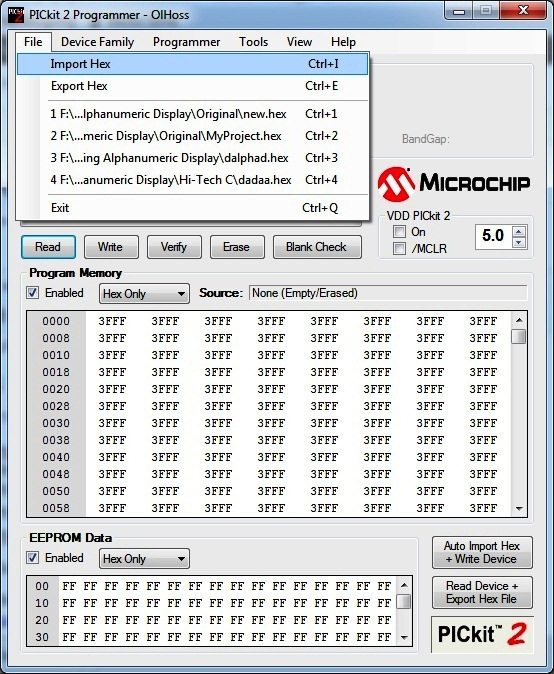
- Import Hex file from your Project Folder, File >> Import
- Select the Hex file from your Project Folder
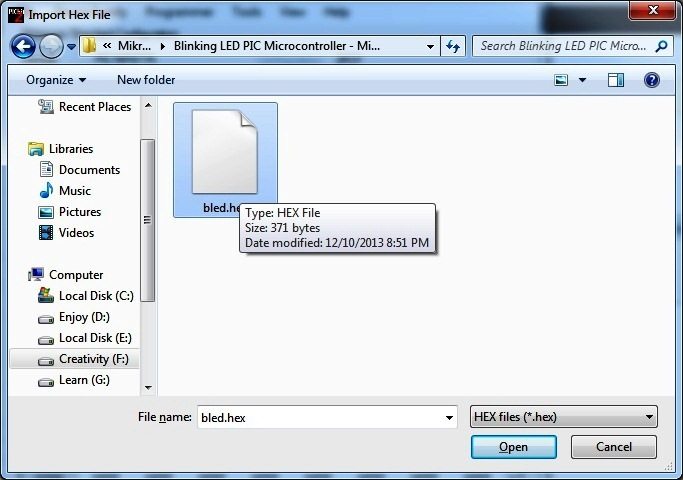
- Click Open
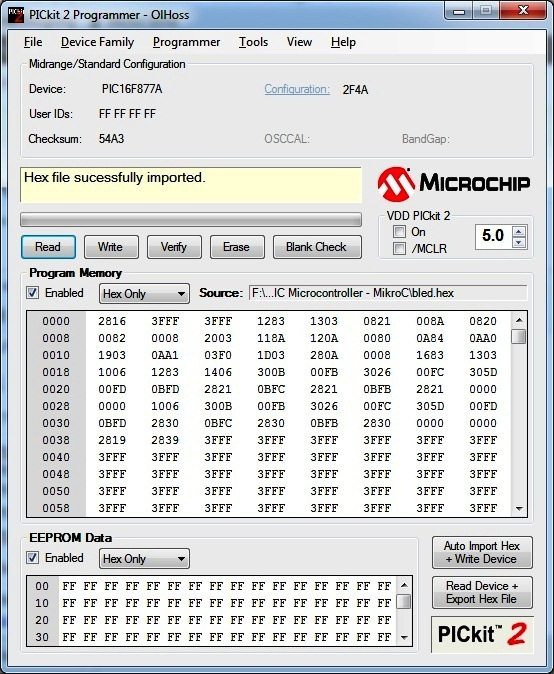
- To write the program to PIC, click Write

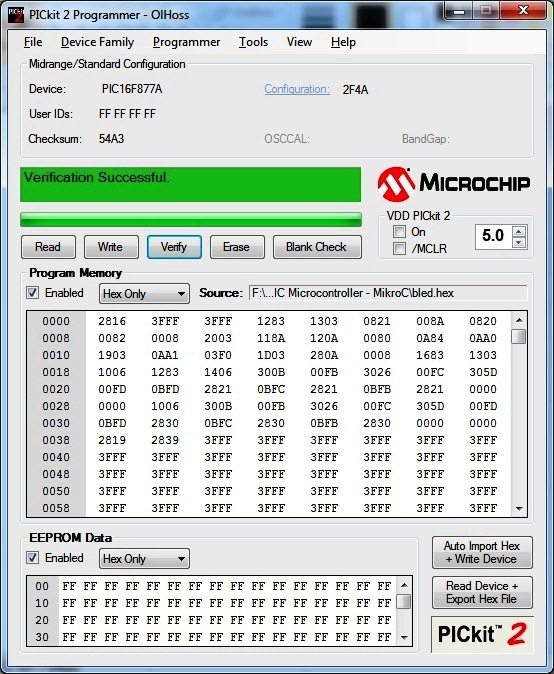
- Then you may verify the program in the PIC Microcontroller with the Hex file. This can used to check whether the program in the microcontroller is corrupted or not. For that, import the hex file if it is not already imported and click Verfiy.
Configuration Bits
I suggest you to read the following tutorial to know more about Configuration Bits.
Download Here
You can download the Hex file, MikroC file, Proteus etc from here…