June 22, 2012By Ligo GeorgeElectronics, MikroC, PIC Microcontroller, TutorialsEEPROM, Microcontroller, MikroC, PIC, Proteus11 CommentsRead more...
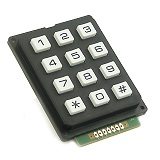
Interfacing Matrix Keypad with PIC Microcontroller using MikroC Library
I already posted about Interfacing Matrix Keypad with PIC Microcontroller with some user-defined functions. Advantages in using user-defined functions are we can extend it up to any number of keys and able to customise according to our application. The MikroC Pro for PIC Microcontrollers provides a library for working with 4*4 keypad. It can also be used to interface 4*3, 4*2 and 4*1 keypads. MikroC provides the following three functions to interface Matrix Keypad. Keypad_Init Keypad_Key_Press Keypad_Key_Click
Keypad_Init
Prototype: void Keypad_Init(void); It initializes a particular port for working with keypad. A global...Reading Multiple Pressed Keys from Matrix Keypad using PIC Microcontroller
I have already post about Interfacing Matrix Keypad with PIC Microcontroller. I suggest to read that article before reading this. In some applications it may require to scan more than one key at a time. Reading Multiple Pressed Keys from Matrix Keypad is not simple as reading Single key. We want to change the program as well as the circuit of matrix keypad for reading multiple keys. The main problem is unexpected shorts may come to act when we press more...
Multiplexing of Seven Segment Displays with PIC Microcontroller
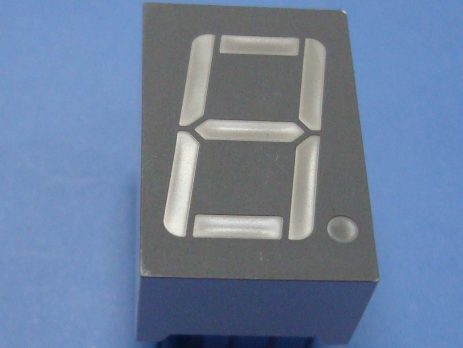
When a Seven Segment Display is interface with PIC Microcontroller it needs minimum 7 pins to display a value. But real time applications like Digital Clock, Calculator, Digital Watch requires 3-6 seven segment displays. Lets assume that we need 6 digit display, ie we need 7 segment * 6 Display = 42 pins. Thus we actually need Microcontroller with 42 output pins. This is waste and not economical to use lot of pins of a Microcontroller just for display. The simplest...
Voltmeter and Ammeter using PIC Microcontroller
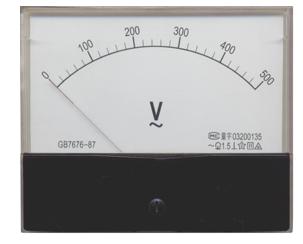
Voltmeter and Ammeter can be easily made using PIC Microcontroller having ADC (Analog to Digital Converter). I am using PIC16F877A and the result is displayed on an LCD Display. PIC16F877A is enough if you do this project only for testing purposes. I suggest to use PIC with low pin numbers and multiplexed 7 segment display if you wish to use this as your measuring instrument.
Prerequisite
If you don't know the basis of PIC ADC and LCD Interfacing please read the following...Water Level Indicator and Controller using PIC Microcontroller
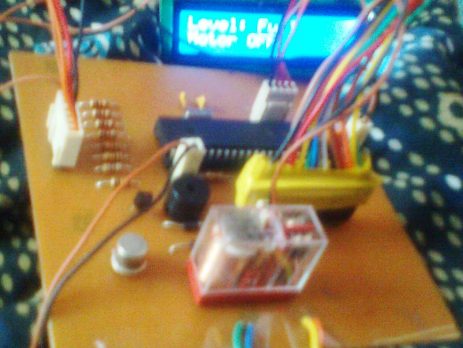
Here is a simple, versatile project which indicates the level of water and automatically controls it by using PIC Microcontroller. The Water Level Sensing Section senses the level of water in the tank and sends it (wireless) to the Receiver Section. Receiver Section is connected to the Controlling Section, which process the received information and produces visual, sound indications and controls the operation of the motor whenever required. The project is divide into 4 sections.