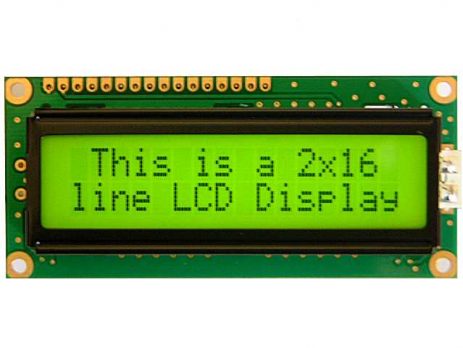
PIC Microcontroller Tutorials, MikroC, Proteus Tutorials comes under this category. Starts from LED Blinking. IO Port Expansion Stepper Motor Servo Motor DC Motor Interfacing LCD Interfacing

Getting Started with PIC 18F Microcontroller – MikroC

In this tutorial we will learn how to program PIC 18F Microcontrollers using MikroC Pro compiler. I hope that you already know the basics of PIC Programming using MikroC compiler. If you are a beginner to this field, please read our first tutorial Blinking LED using PIC Microcontroller - MikroC. There are a lot of advantages for PIC 18F microcontrollers compared to 16F. Some of them are given below. PIC 18F is optimized for C while PIC 16F is not. ...

Read Modify Write Problem with Mid-Range PIC Microcontrollers

RMW Problem with PIC 16F Family Microchip's mid-range PIC Microcontrollers use a sequence of operations : Read, Modify and Write to change output state of a pin. In certain circumstances RMW operations might cause unexpected behavior of outputs. You might have already experienced this issue and struggled with it as you can't find exact reason with microcontrollers unexpected behavior. Mid-Range PIC Microcontroller uses two registers, TRIS and PORT to control the direction and status of an IO pin respectively. When you try...

Configuration Bits in Mid-Range PIC Microcontrollers

Device Configuration Bits allows the programmer to adjust certain condition that determines the operation modes of the microcontroller. That is the state of Configuration Bits determines the mode in which device operates when it is powered. These configuration bits are mapped in the program memory location 2007h. This location can't be accessed during normal operation and can be accessed only at the time of programming. Their placement is automatically taken care by the device programmer or ICSP programmer. Hence selection...

Generating PWM with PIC Microcontroller using Hi-Tech C

PWM (Pulse Width Modulation) is a powerful technique used to generate analog voltage using digital signals. It has a wide variety of applications such as controlling average power delivered to a load, generating analog voltage level, sine wave generation and DC Motor speed control. PWM signals are ON-OFF signals (hence the name Pulse) whose ON duration are changed (hence Width Modulation) according to our requirements. The fraction of time period for which the signal is ON to total time period is...

Using UART of PIC Microcontroller – Hi Tech C

UART stands for Universal Asynchronous Receiver / Transmitter. It is a serial communication interface which uses two lines for sending (TX) and receiving (RX) data. As its name indicates it is an asynchronous communication interface, which means it doesn't need to send clock along with it as in synchronous communications. UART is the communication standard of our old computer's RS-232 serial port. Most of the Microchip's PIC Microcontrollers have built in USART Module. USART stands for Universal Synchronous Asynchronous Receiver...

Interfacing LCD with PIC Microcontroller – Hi Tech C

16x2 Character LCD is a very basic LCD module which is commonly used in electronics projects and products. It contains 2 rows that can display 16 characters. Each character is displayed using 5x8 or 5x10 dot matrix. It can be easily interfaced with a microcontroller. In this tutorial we will see how to write data to an LCD with PIC Microcontroller using Hi-Tech C Compiler. Hi-Tech C has no built in LCD libraries so we require the hardware knowledge of...

Using ADC Module of PIC Microcontroller – Hi Tech C

Analog to Digital Converter (ADC) is a device that converts an analog quantity (continuous voltage) to discrete digital values. This is very useful when we want to do some processing on physical quantities, which are normally analog in nature. Most of the PIC Microcontrollers have built in ADC Module. Here we are using PIC 16F877A for demonstrating the working. ADC_Symbol ADC of PIC Microcontrollers have 5 inputs for 28 pin devices and 8 inputs for 40/44 pin devices. It is a 10-bit...

Using Push Button Switch with PIC Microcontroller

I hope that you have already read the first tutorial of Hi Tech C, LED Blinking using PIC Microcontroller. In that tutorial we blink LEDs connected to PORTB by writing to entire PORT and TRIS registers. In some cases we may want to set or reset individual bits of these registers. For that we can use the bit addressable feature of these registers. We have already seen in the previous tutorial that TRIS register is used to set the direction...

>