Tag - Arduino

Arduino Weather Station Web Server

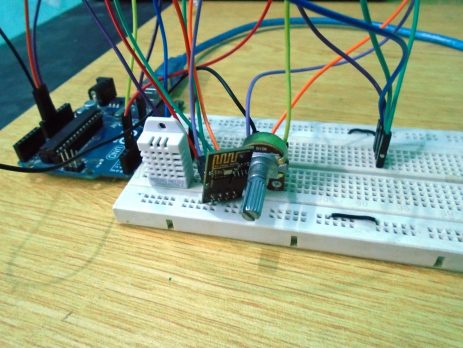
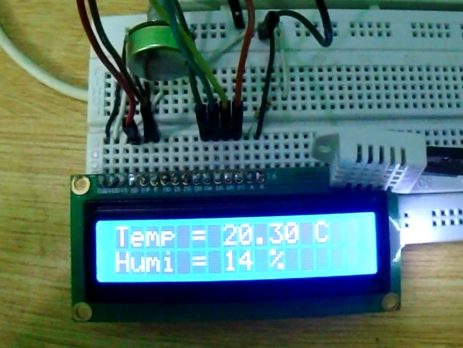
In this tutorial we are going to make a weather station that will tell us temperature, humidity and heat index of a particular location. It will show these values in a web browser. You can monitor these data by entering the IP address in a mobile, computer or any other device which supports a web browser. This project is done using Arduino Uno, ESP8266 and DHT22 sensor. DHT22 sensor will read temperature and humidity information. ESP8266 WiFi module is used to establish network communication. Arduino is...

IoT Data Logger using Arduino and ESP8266

Today we are going to make an IoT WiFi data logger using Arduino, ESP8266 WiFi module and DHT22 temperature humidity sensor. Arduino is reading temperature and humidity sensed by DHT22 and sending it to an internet server using the ESP8266 WiFi module. Here we are using ThingSpeak as the internet server. ThingSpeak is an open source IoT application which can be used as an Internet or Intranet Server. It is providing HTTP API for data logging, location tracking, status updates...

Home Automation using Arduino and ESP8266 Module

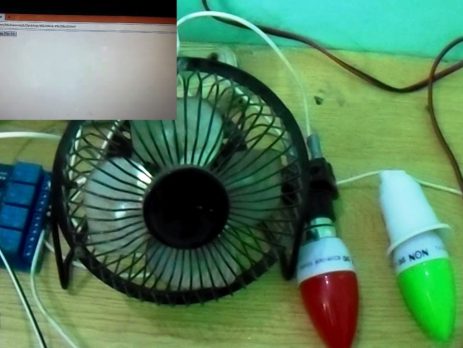
In this project we are going to make a home automation system using ESP8266 WiFi module and Arduino Uno. Using this we will be able to control lights, electric fan and other home appliances through a web browser using your PC or mobile. These AC mains appliances will be connected to relays which are controlled by the Arduino. ESP8266 and Arduino together acts as a Web Server and we will send control commands through a Web Browser like Google Chrome...

Digital Door Lock using Arduino

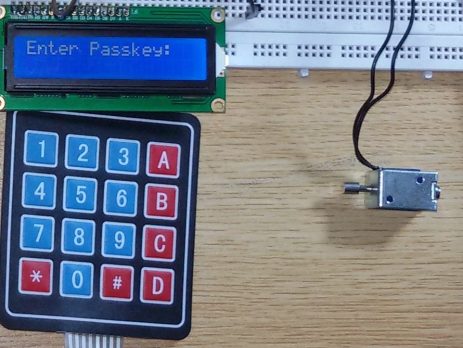
As thefts are increasing day by day security is becoming a major concern nowadays. In this project we will make a digital door lock system with keypad using Arduino Uno. It will open your door only when the right password is entered and it will start beeping when a wrong password is entered.

Components Required

4x4 keypad LCD Arduino Uno Push Pull Solenoid TIP 120 NPN transistor Power Supply Breadboard 1KΩ, 220Ω Resistor 10KΩ Potentiometer Buzzer Connecting wires

Circuit Diagram &...

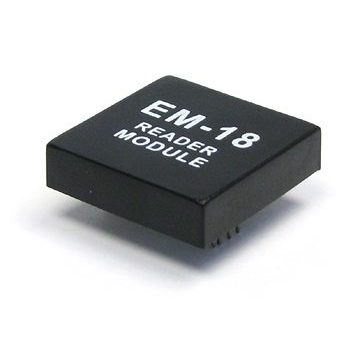
Interfacing EM-18 RFID reader with Arduino Uno

Arduino Uno is an opensource physical computing platform based on ATmega328 microcontroller and provides a development environment for writing software for the board. It can be used for a variety of projects. EM-18 RFID reader is one of the commonly used RFID reader to read 125KHz tags. It features low cost, low power consumption, small form factor and easy to use. It provides both UART and Wiegand26 output formats. It can be directly interfaced with microcontrollers using UART and with PC using an...

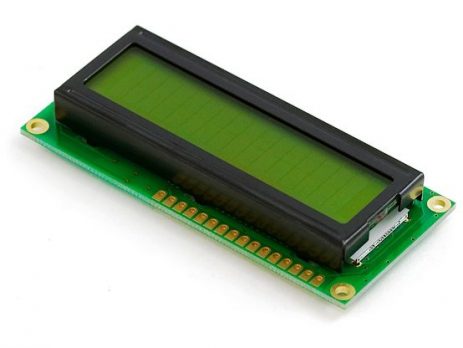
Interfacing LCD with Arduino Uno

16x2 character LCD display is a very basic LCD module which is commonly used in electronic projects. 16x2 means it can display 2 rows of 16 characters (columns). Its other variants such as 16x1, 16x4 etc are also available. These LCDs are usually made using HD44870 compatible controllers. In this tutorial we will see how to interface a 16x2 Character LCD display with Arduino Uno development board. Arduino provides built in libraries for interfacing HD44870 compatible LCDs. 16x2 LCD Pin...

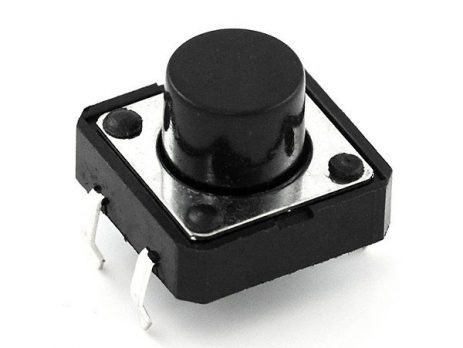
Using Push Button Switch with Arduino Uno

In this tutorial you will learn how to read the status of a digital pin of Arduino. I hope that you already go through our first tutorial, Getting Started with Arduino Uno - LED Blinking. In this example, a push button switch and an LED is connected to Arduino Uno. When we press the switch, LED will glow for 3 seconds. A pin is configured as Input Pin to connect switch...

Getting Started with Arduino – LED Blinking

Arduino Uno R3 Arduino Uno is the best development board for beginners in the field of embedded systems. We can program Arduino board with less technical knowledge and programming skills. This tutorial is intended to beginners in the field of Arduino. Hope you already have an Arduino board. Then you have to download Arduino Software and Driver. You can download it from Arduino Website.

Installing Arduino Driver

Now connect the Arduino to your computer using a USB cable....

>