Author - Ligo George

Using ADC of PIC Microcontroller – MPLAB XC8

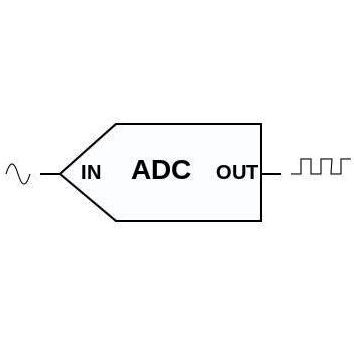
In this tutorial we will learn, how to use the ADC module of a PIC Microcontroller using MPLAB XC8 compiler. For demonstration we will use the commonly available PIC 16F877A microcontroller. Every physical quantity found in nature like temperature, humidity, pressure, force is analog. We need to convert these analog quantities to digital to process it using a digital computer or a microcontroller. This is done by using Analog to Digital Converters. An Analog to Digital Converter or ADC is a device...

Monostable Multivibrator using Transistors

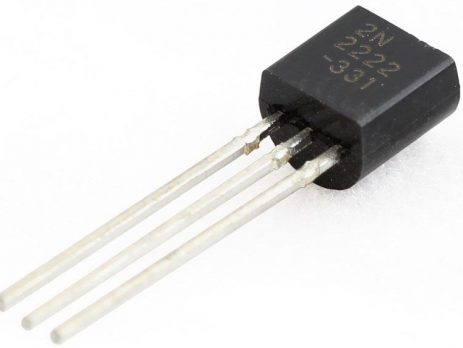
Multivibrator is a non linear oscillator or function generator which can generate square, rectangular and pulse waves. Monostable Multivibrator or One-Shot Multivibrator has only one stable state. By default monostable multivibrator will be in its stable state, but when triggered it will switch to unstable state (quasi-stable state) for a time period determined by the RC time constant in the circuit.

Monostable Multivibrator using Transistors - Circuit Diagram

Monostable Multivibrator using Transistors - Circuit Diagram In the above circuit diagram we can find two transistors which...

Generating PWM with PIC Microcontroller – MPLAB XC8

Pulse Width Modulation (PWM) is the one of the simple and most commonly used technique to produce analog voltages from digital signals. It has a wide variety of applications such as Digital to Analog Converter (DAC), DC Motor Speed Control, Sine Wave Inverters, Brightness control etc. PWM signals are ON - OFF signals (HIGH or LOW) (hence the name Pulse) whose HIGH or ON duration is changed (hence Width Modulation) in accordance with our requirements. The fraction of time period for...

Custom Characters on LCD using PIC – MPLAB XC8

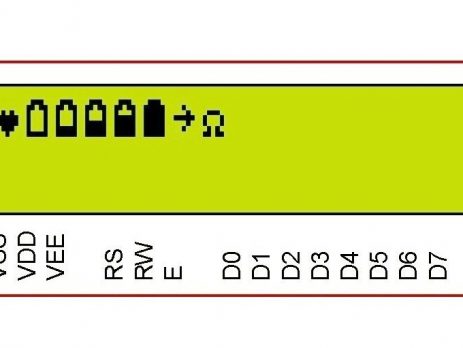
I hope that you already go through our tutorial, Interfacing LCD with PIC Microcontroller - MPLAB XC8. HD44780 compatible controllers used in these LCDs allows us to define 8 custom characters in addition to the standard pre-programmed characters. In this tutorial we will learn, how to create custom characters on LCD using PIC Microcontroller and MPLAB XC8 compiler.

DDRAM, CGROM and CGRAM

CGROM - Character Generator ROM

This is the memory which...

Custom Characters on LCD using PIC – MikroC

I hope that you already go through our tutorial, Interfacing Character LCD with PIC Microcontroller - MicroC Pro. These character based LCDs are commonly made using HD44780 compatible controllers. It allows us to define 8 custom characters in addition to the standard pre-programmed characters. In this tutorial we will learn to define our own custom characters using MikroC compiler.

DDRAM, CGROM and CGRAM

CGROM - Character Generator ROM

This is the memory which holds...

Interfacing LCD with PIC Microcontroller – CCS C

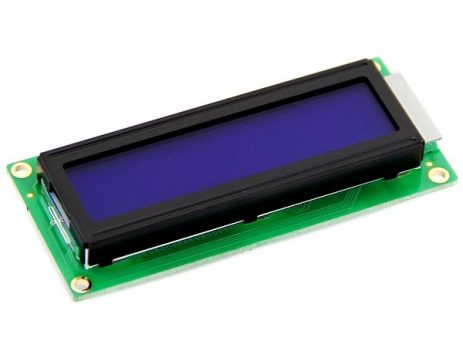
In this tutorial we will see How to interface a 16x2 character LCD Module with PIC 16F877A Microcontroller using CCS C Compiler. 16x2 character LCD is a very commonly used LCD module in electronic projects and products. 16x2 means it can display 2 rows of 16 characters. It is a very basic and low cost module. Its other variants such as 16x1, 20x4 are available in the market. In these displays each character is displayed using 5x8 or 5x10 dot...

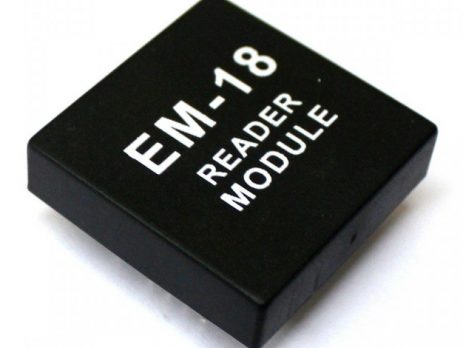
Interfacing EM-18 RFID Module with PIC Microcontroller

EM-18 RFID Reader Module is the one the most commonly used module for Radio Frequency Identification Projects. It features Low Cost, Small Size, Low Power Consumption and Easy to use. It can be directly interfaced with microcontrollers using UART communication. Software UART can be used for microcontrollers having no UART modules. In this tutorial we will see How to Interface EM-18 RFID Reader Module with PIC 16F877A Microcontroller. By understanding the basic idea, you...

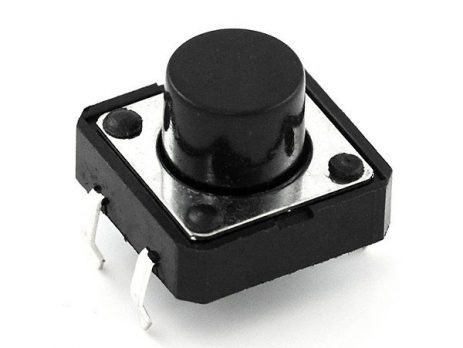
Using Push Button Switch with PIC Microcontroller – CCS C

I hope that you already go through our first tutorial of CCS C Compiler, Getting Started with PIC Microcontroller - CCS C Compiler. In that tutorial we learn how to use an output pin of PIC Microcontroller by blinking an LED with a delay of 1 second. In this tutorial we will learn how to read the status of an input pin and to make decisions according to...

>