Electronics tutorials including microcontroller, microprocessor, programing and circuits. Intended for beginners, electronics hobbyists, college students, professionals and educational purposes.

PCB Designing: 20 Essential Tips for Success

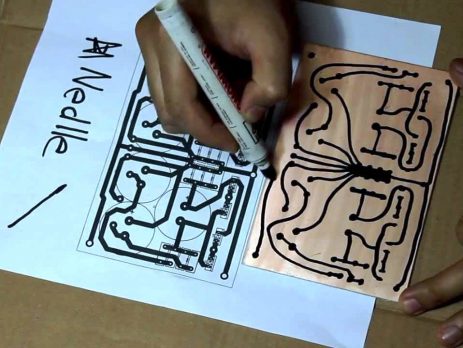
Creating a printed circuit board (PCB) is like building the brain of your electronic gadgets. To help you design a functional and reliable PCB, here are twenty important things you should keep in mind, explained in simple terms: Placing Components in the Right Spots: Think of your PCB like a puzzle. Each electronic part, called a component, has its own special place on the board. Just as you wouldn't mix up puzzle pieces, don't mix up your components. Proper placement ensures...

PCB Prototyping Simplified by PCBWay

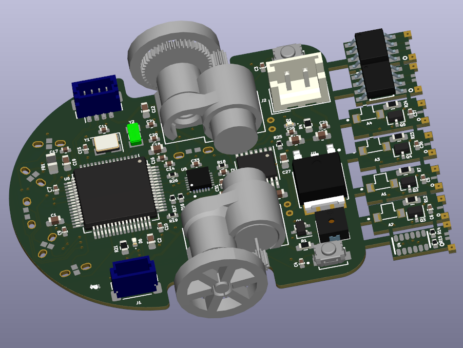
Join me as I recount a personal journey that completely revolutionized my electronics engineering experience. At the outset of my ventures in the world of electronics, crafting PCBs proved to be an arduous and time-consuming task, putting my patience to the test with toner transfer methods and the complexities of local manufacturing. However, the challenges didn't stop there; I constantly found myself racing against time to procure elusive components, leading to frustrating delays in my projects. While there were various tools...

PCB Manufacturing Simplified by JLCPCB

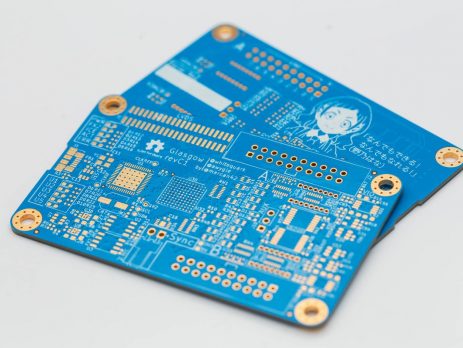
During the beginning of my electronics engineering journey I used to make PCBs at home using toner transfer method. Later I used to do screen printing and also manufacture PCBs locally. Then I used to assemble components myself. In all these methods PCB manufacturing itself is a time consuming process. Sometimes some components won't be readily available in the market which will further take more time to arrange. Recently I have come across

Getting Started with STM32 ARM Cortex-M Microcontroller using Keil IDE

In this tutorial we will learn how to blink an LED using STM32 ARM Cortex-M microcontroller STM32F103C8T6 and Keil IDE. This is a beginners hello world project. Here we use STM32CubeMx for generating basic startup code and Hardware Abstraction Layer (HAL) for Keil IDE.

Components Required

Hardware

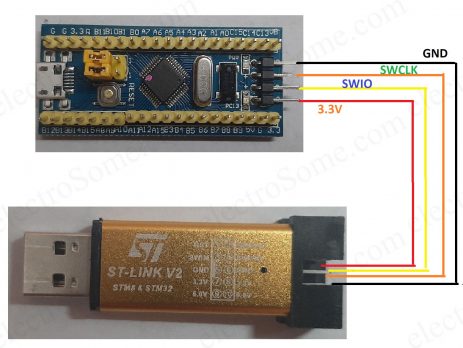
STM32 Blue Pill Development Board STM32F103C8T6ST-Link-V2Jumper Wires

Software

Keil IDESTM32CubeMX

STM32 Development Board

This is one of the smallest and low-cost ARM Cortex development board available in the market. It uses STM32F103C8T6, an STM32 ARM...

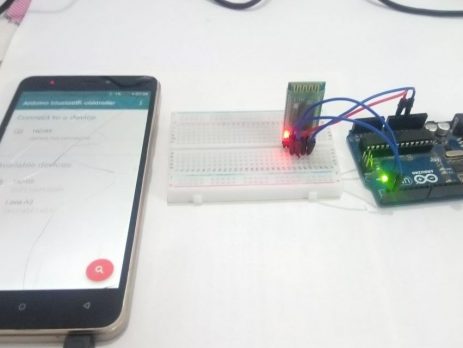
Interfacing HC-05 Bluetooth Module with Arduino Uno

In this tutorial, I will explain about Interfacing HC-05 Bluetooth Module with Arduino Uno. HC-05 uses bluetooth classic and can be configured in master or slave modes. It can be interfaced with a microcontroller using UART.

Components Required

Arduino UnoHC-05 Bluetooth ModuleLEDJumper WiresBread Board

Software Required

Arduino IDEAndroid App - Arduino Bluetooth Controller

HC-05 Bluetooth Module

HC-05 Bluetooth Module Operating Voltage : 4 V to 6V (have internal 3.3V regulator).Operating Current : 30mAIntegrated antenna...

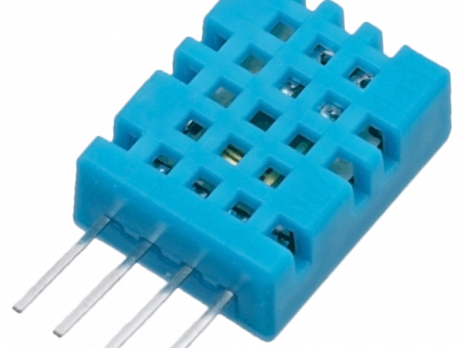
Interfacing DHT11 Temperature and Humidity Sensor with Arduino Uno

In this tutorial we will learn about Interfacing DHT11 Temperature and Humidity sensor with Arduino Uno. The term DHT is an abbreviation of Digital Humidity and Temperature sensor. DHT11 consists of a resistive humidity sensor, NTC temperature sensor and an 8-bit microcontroller providing cost effectiveness, anti-interference ability, excellent quality and fast response.

Components Required

DHT11 SensorArduino Uno0.96 inch OLEDBread BoardJumper Wires

DHT11 Temperature and Humidity Sensor

DHT11 Temperature and Humidity Sensor Module - PIN Diagram

Specifications

Operating Voltage : 3V ~ 5.5VTemperature...

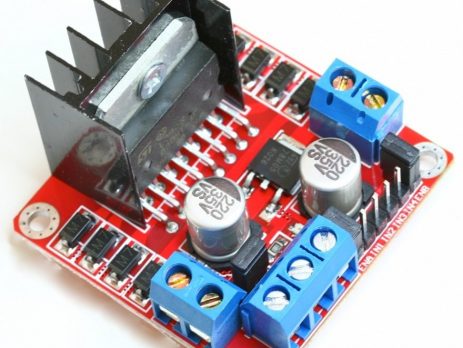
Interfacing L298N Motor Driver with Arduino Uno

In this tutorial we will learn how to interface L298N motror driver with Arduino Uno. You might be thinking why we need L298N for controlling a motor. The answer is very simple, Arduino board or a microcontroller IO pins don't have enough current/voltage driving capability to drive a motor. For driving the motor in both directions (clockwise and anti-clockwise) we need to use an H-Bridge. Please read our article H-Bridge - DC Motor Driving for more...

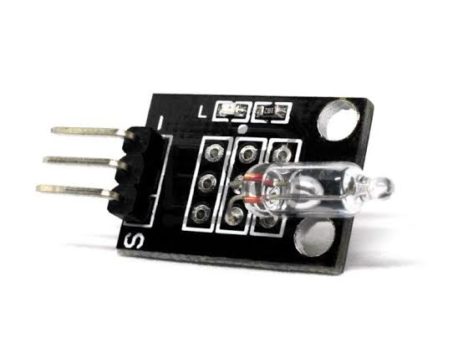
Interfacing Mercury Tilt Switch with Arduino Uno

In this tutorial we will learn how to interface Tilt Sensor with Arduino Uno. As the name suggests, it is an electronic device used to detect the orientation or tilting of an object and provides digital output based on the orientation. It behaves like a normal ON - OFF switch that is controlled by tilting. Tilt sensor consists of a mercury ball and two contacts in a sealed enclosure, in which the mercury ball will short the leads based on...

>