

Interfacing DHT11 Temperature and Humidity Sensor with Arduino Uno
Contents
In this tutorial we will learn about Interfacing DHT11 Temperature and Humidity sensor with Arduino Uno. The term DHT is an abbreviation of Digital Humidity and Temperature sensor. DHT11 consists of a resistive humidity sensor, NTC temperature sensor and an 8-bit microcontroller providing cost effectiveness, anti-interference ability, excellent quality and fast response.
Components Required
- DHT11 Sensor
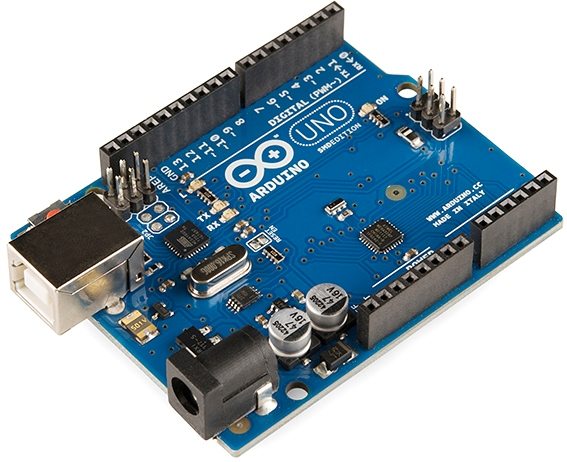
- Arduino Uno
- 0.96 inch OLED
- Bread Board
- Jumper Wires
DHT11 Temperature and Humidity Sensor

Specifications
- Operating Voltage : 3V ~ 5.5V
- Temperature range : 0 ~ 50°C
- Temperature Accuracy : 2°C
- Humidity range : 20 – 90 %RH
- Humidity Accuracy : 5 %RH
- Maximum Sampling Rate : 1 Hz
- Pin Out : VCC – Power In, Data – Data Out, NC – No Connection, GND – Ground
Working
- The DHT11 sensor has a humidity measurement component and an NTC temperature measurement component.
- Humidity measurement component consists of two electrodes and a substrate in between them.
- Whenever the humidity or moisture changes the conductivity of the substrate changes, hence the resistance between electrodes changes.
- The resistance of the NTC thermistor decreases as the temperature increases.
- Change in resistance is measured and processed by the internal microcontroller and send out through the data line.
Circuit Diagram

Description
- DHT11 VCC pin – 5V output of Arduino Uno
- OLED VCC pin – 5V output of Arduino Uno
- DHT11 GND pin – GND of Arduino Uno
- OLED GND pin – GND of Arduino Uno
- DHT11 Data pin – Digital pin 2 of Arduino Uno
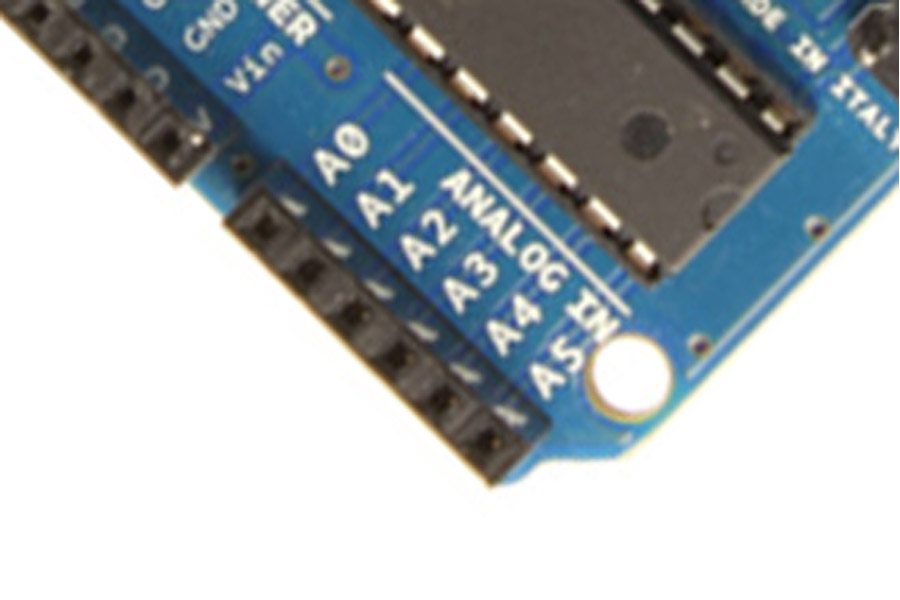
- OLED SCL pin – Pin A4 of Arduino Uno
- OLED SDA pin – Pin A5 of Arduino Uno
Program
#include <Wire.h>
#include <Adafruit_GFX.h>
#include <Adafruit_SSD1306.h>
#include "DHT.h"

#define DHTPIN 2
#define OLED_RESET 4
Adafruit_SSD1306 display(OLED_RESET);

#define DHTTYPE DHT11

DHT dht(DHTPIN, DHTTYPE);

void setup()   {
    display.begin(SSD1306_SWITCHCAPVCC, 0x3C);  // initialize with the I2C addr 0x3C
    display.display(); // show splash screen
    delay(2000);
    display.clearDisplay();   // clears the screen and buffer
    dht.begin();
    delay(2000);
}

void loop() {
    float h = dht.readHumidity();
    // Read temperature as Celsius (the default)
    float t = dht.readTemperature();
    // Read temperature as Fahrenheit (isFahrenheit = true)
    float f = dht.readTemperature(true);

    // Check if any reads failed.
    if (isnan(h) || isnan(t) || isnan(f)) {
        delay(2000);
    }
    else {
        // routine for converting temp/hum floats to char arrays
        char temp_buff[5]; char hum_buff[5];
        char temp_disp_buff[11] = "Tmp:";
        char hum_disp_buff[11] = "Hum:";

        // appending temp/hum to buffers
        dtostrf(t,2,1,temp_buff);
        strcat(temp_disp_buff,temp_buff);
        dtostrf(h,2,1,hum_buff);
        strcat(hum_disp_buff,hum_buff);

        // routine for displaying text for temp/hum readout
        display.clearDisplay();
        display.setTextSize(2);
        display.setTextColor(WHITE);
        display.setCursor(0,0);
        display.println(temp_disp_buff);
        display.println(hum_disp_buff);
        display.display();
        delay(2000);
    }
}
Functioning
- Adafruit_SSD1306 display(OLED_RESET) – Defines the pin to which OLED reset pin is connected.
- DHT dht(DHTPIN, DHTTYPE) – Defines the type of DHT sensor and the pin to which the data line is connected.
- In the setup() we initialize the DHT sensor and the OLED display with it’s I2C address (0x3C).
- In the loop() we keep reading temperature and humidity value from the sensor and prints it in the OLED display.
Practical Implementation

Video
Conclusion
Hope you understand the working of DHT11 temperature and humidity sensor and how to integrate it with Arduino Uno. Also about integrating SSD1306 OLED display with Arduino Uno. Please feel free to comment below if you have any doubts.


