

Access Raspberry Pi directly from Windows PC
Usually beginners require a display, keyboard and mouse for using Raspberry Pi. But being a linux based system, the Pi can be accessed through a variety of methods like SSH (check our Raspberry Pi SSH tutorial), VNC (check our Raspberry Pi VNC tutorial) etc.. But these methods require an already existing network consisting of a router or other network devices.
It would be easier to directly connect the Pi to the computer and work with it without any additional hardwares like router. But unfortunately it is not possible by default as both devices don’t have ip address and network parameters configured, they cannot communicate with each other. Either these need to be set manually or automatically assigned. Setting manually may lead to ip address conflicts and configuration errors therefore automatic assignment is preferred. For this we install a DHCP (Dynamic Host Configuration Protocol) server on the computer.
DHCP enables the clients to dynamically request ip addresses and parameters from the server. These are assigned automatically without manual intervention of a network administrator. Windows bundles a DHCP server which can be used for internet sharing but unfortunately its difficult to find the ip address it assigns. Therefore we are going to use a third party DHCP server.
- Download the DHCP server for Windows from here.
Next step is to assign a static IP address for windows LAN.
- Go to Network and Sharing Center by searching in start menu.
- Click on Change adapter settings.
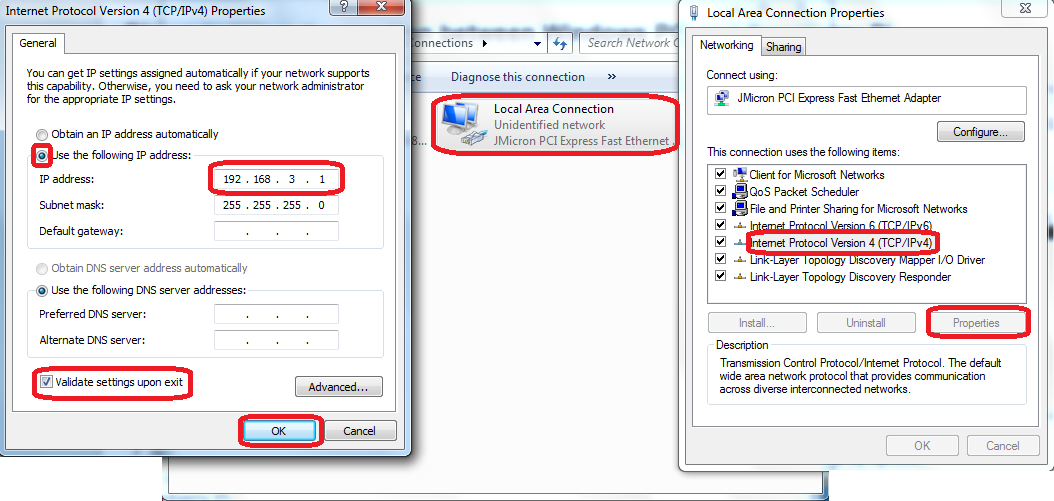
- Right click on Local Area Connection and click Properties.
- Select Internet Protocol Version 4 (TCP/IPv4) and click Properties.
- Select Use the following IP address option and provide an IP address (eg. 192.168.3.1).
- Check Validate settings upon exit (to validate settings).
- Click OK.
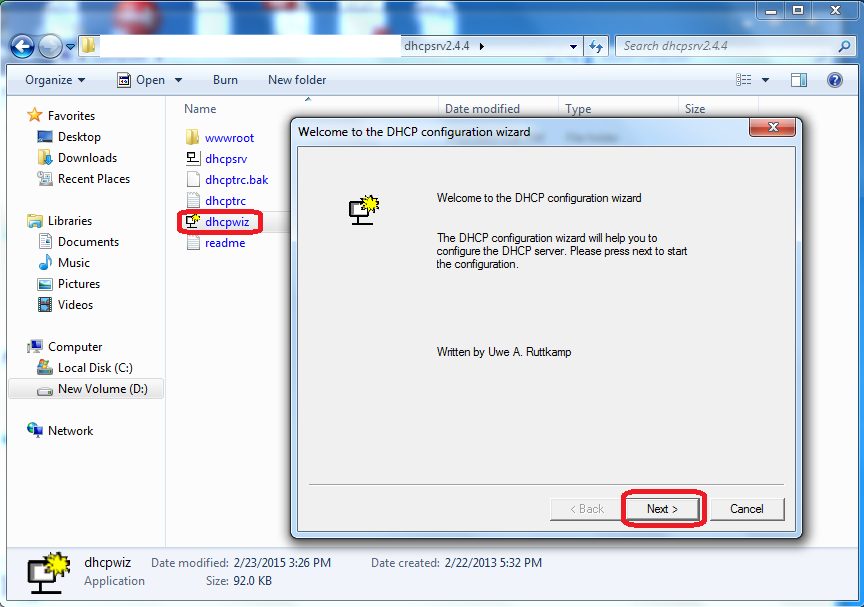
- Unzip the downloaded file dhcpsrv2.4.4.zip
- Run the setup wizard dhcpwiz.exe and click on Next
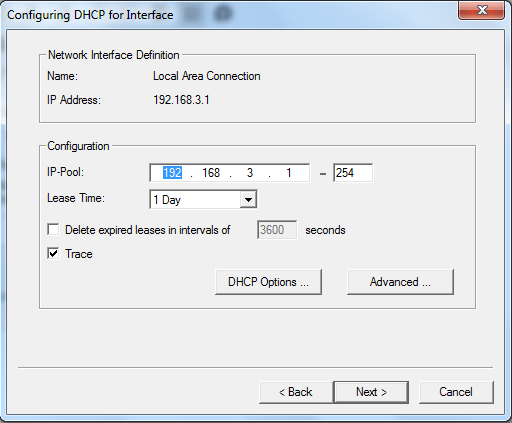
- Click Refresh and check whether the Local Area Network with the IP assigned earlier is listed. Select the network and click Next.

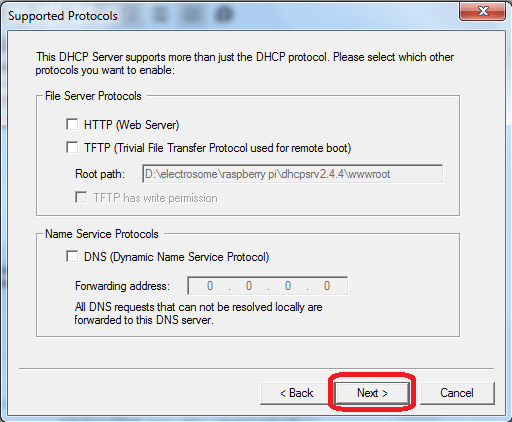
- Leave all values as default in the Supported Protocols.
- Here also leave all values as default and click Next.
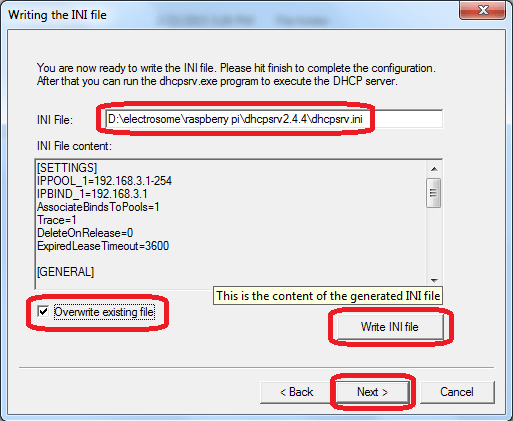
- Check whether the path of INI file is same as the location of the dhcpsrv.exe. Click on Write INI file and then Next.
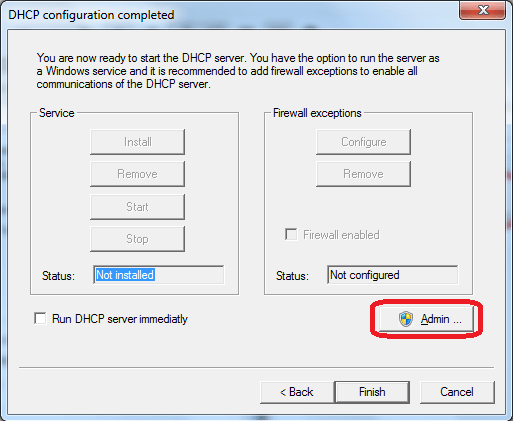
- Click on Admin button to enable administrator privileges and then click on Configure firewall button.
- Click on Exit to return to configuration page.

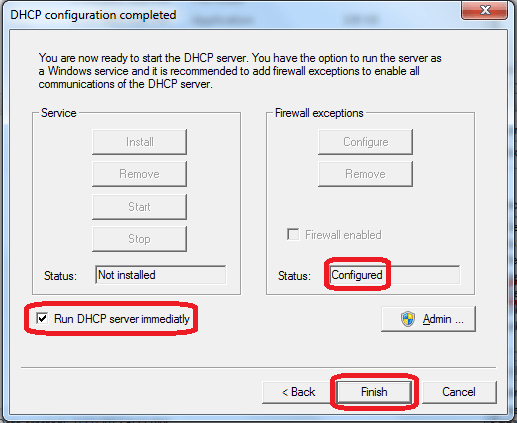
- Select the check box Run DHCP server immediately and click Finish.
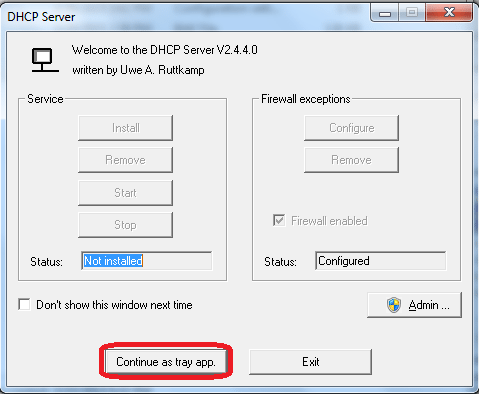
- Click on the Continue as tray app button.
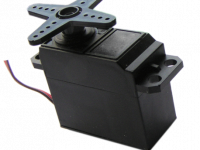
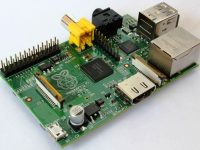
- Connect the Raspberry Pi to the computer’s Ethernet port and power it.
- A popup showing the IP address assigned and the MAC-id of the Pi is shown.

This IP address can be used to access the Pi through SSH (check our Raspberry Pi SSH tutorial), VNC (check our Raspberry Pi VNC tutorial), share your internet with Pi etc..
Viola! Now you can use your Pi without the need of any additional hardware.
Any doubts or suggestions? Comment below.


What to do if DHCP already enabled? For Windows 11, the dialog boxes you show are not applicable.
popup vannu. vnc install cheythitt assign cheytha ip athil kodthaa mathyo
Just connect internet to raspberry pi and check whether you can ping to google dns IPs, 8.8.8.8 or 8.8.4.4
Yeah but I would like to get Internet working on it. Can you please help me with same?
Internet is not required for this.
No Internet on RPi. How to get that working?
This article is for a user who doesn’t have access to any additional hardware (ex. keyboard, mouse, display etc..) and needs to run the Pi in headless mode.
It’d be easier to put the DHCP server on the RPi.