Getting Started with ESP8266 Programming – Arduino
Bring IoT to Arduino together!
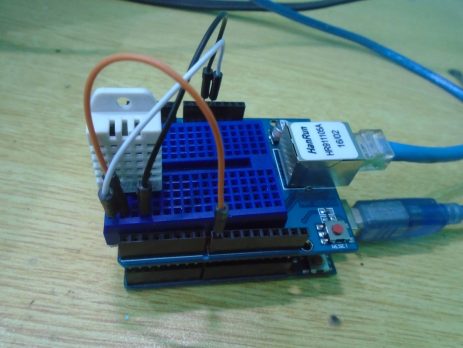
Build your own IOT service! Collect sensor data and send it to a WebServer. In this article, we are going to create a webserver using the Arduino and the Ethernet shield. The Arduino Ethernet makes everything so easy that it looks like magic. The Arduino Ethernet Shield allows you to easily connect Arduino to the internet. This shield enables Arduino to send and receive data from anywhere in the world with an internet connection. This shield opens up endless amounts of...
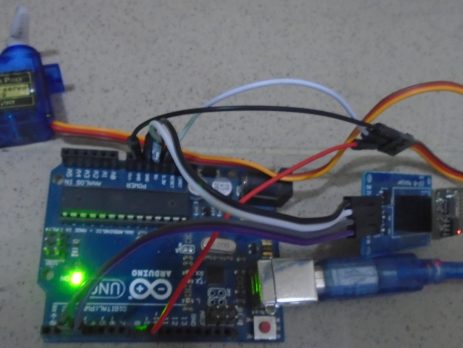
Internet of things has taken over all the heavy loads from human to itself. IoT is an ecosystem of connected physical objects that are accessible through the internet. As Automation is used to help mankind in various environments if we combine the automation and Internet of things we can achieve more than we can think of. In this project, we are going to control the servo motor from webpage by using Arduino Uno. The webpage will be created using ESP8266 module. The servo...
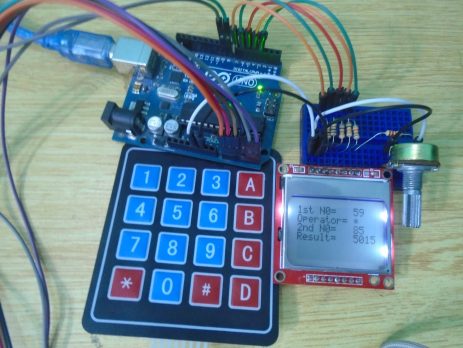
Arduino Uno has always helped to build projects easily and make them look more attractive. In this project, we are going to make an Arduino Uno calculator which will take the values from user by using the 4X4 keypad and then will perform the calculations to get the result. After calculating the result, it will print those calculated values on Nokia 5110 LCD. This Arduino Uno based calculator can perform four operations which are addition, subtraction, multiplication and division.
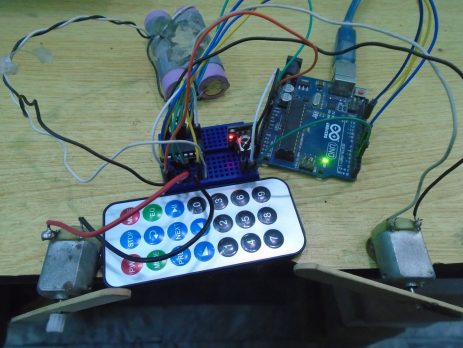
In this project we will learn how to decode IR remote signals with Arduino and to control DC motors depending on the button pressed. For demonstrating the working we are using five buttons on the remote. When the next button on the remote is pressed, motors will rotate in clockwise direction. And if the previous button is pressed motors will rotate in anticlockwise direction. We can also control these two motors individually using left, right arrow buttons and stop button...
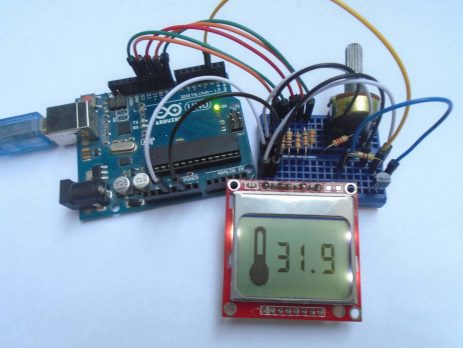
In this project, we are going to make a Digital Thermometer using Arduino Uno. We will use DS18B20 temperature sensor to sense the temperature and Nokia 5110 LCD to display it. DS18B20 is a 1-Wire digital temperature sensor manufactured by Maxim Integrated and is capable of reporting degree celsius with 9 ~ 12 bit precision.
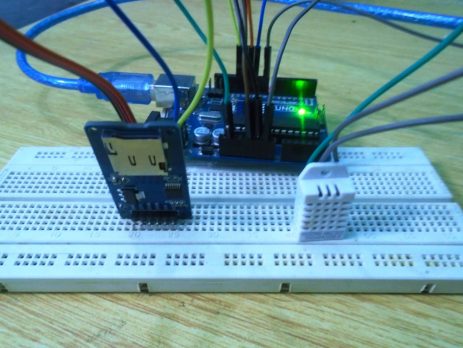
In this project, we are going to make a temperature and relative humidity data logger. Arduino is the brain of this project. DHT22 sensor is used for sensing temperature and relative humidity. Arduino Uno is programmed to read temperature, humidity values from DHT22 sensor and save it to a file in an SD Card. So whenever required we can take the SD Card for viewing data. Here we will take data from SD card and import it to excel to...
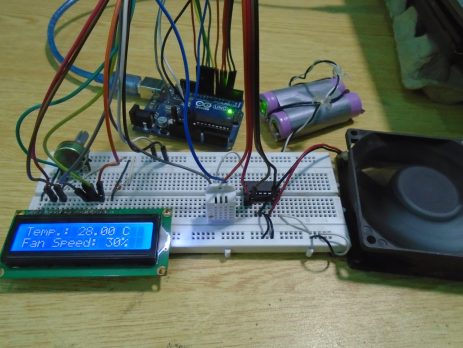
Here we are going to make a temperature controlled DC fan. DHT22 sensor is used to sense the room temperature and then we adjust speed of a DC fan/motor accordingly using PWM (Pulse Width Modulation). Arduino Uno is the heart of this project and a L293D driver IC is used to drive the DC fan/motor.