

Interfacing Ultrasonic Sensor with Arduino Uno
Contents
In this tutorial we will learn about integrating HC-SR04 ultrasonic distance sensor with Arduino Uno. Ultrasonic sensors are commonly used for obstacle detection and distance measuring applications. The sensor works on the same principles of a radar system, which converts electrical energy into acoustic waves and vice versa. The HC-SR04 ultrasonic sensor is based on the principle of SONAR, which is an abbreviation of Sound Navigation Ranging. This sensor is used in many hobby projects where there is a need for obstacle detection or distance measurement.
Components Required
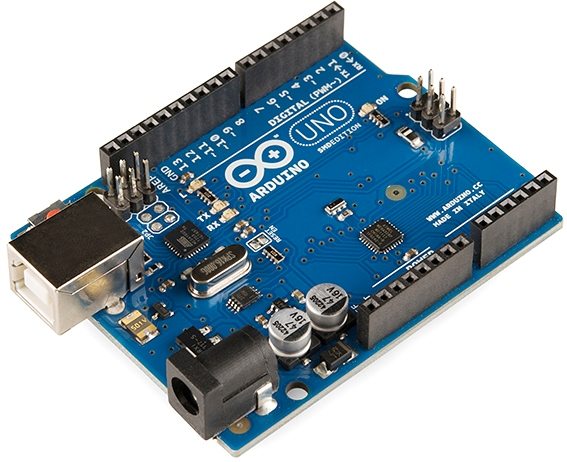
- Arduino Uno
- HC-SR04 Ultrasonic Sensor
- Jumper Wires
HC-SR04 Ultrasonic Sensor

Features
- Operating Voltage : +5V
- Operating Frequency : 40Hz
- Operating Current : <15mA
- Minimum Detection Range : 2cm
- Maximum Detection Range : 400cm
- The sensor contains 4 pins : GND, VCC, Echo, Trigger
- The Trigger and Echo pins act as an input and output pins respectively
- Trigger pin is used to trigger ultrasonic burst out of the sensor.
- Echo pin will send out a pulse whose width is equal to the time taken for the ultrasonic burst to come back after reflecting from an obstacle.
Working
The functionality of the HC-SR04 ultrasonic sensor can be initiated by giving a 10μS HIGH level signal on the TRIGGER input pin. Then the module will send out eight ultrasonic burst of 40KHz. These ultrasonic sound waves travels through the air and if it finds an object or obstacle on its path then it will automatically reflect or bounce back to the receiver of the module. If the module detects signal back, it will send out a HIGH pulse in ECHO pin for the duration equivalent to the time taken for the ultrasonic waves to come back. Now the distance of the obstacle can be calculated by using the this time duration.
Distance Calculation
- Speed of the sound in air is about 343 m/s.
- V = 0.0343 cm/μS
- Time = Distance / Speed
- Distance = Speed * Time
- D = 0.0343 * Time
- Since the ultrasonic burst travels towards the obstacle and reflects back to the sensor, we have twice the distance. So actual distance, d = D/2.
- d = (0.0343 * t)/2
Circuit Diagram

Description
- The GND pin of the HC-SR04 sensor is connected to the GND pin of the Arduino.
- The VCC pin of the HC- SR04 sensor is connected to the +5V pin of the Arduino.
- The input Trigger pin and the output Echo pin of the sensor are connected to the digital pin 2 and digital pin 6 of the Arduino respectively.
Program
// defines pins numbers
const int trigPin = 2;
const int echoPin = 6;

// defines variables
long duration;
int distance;

void setup() {
    pinMode(trigPin, OUTPUT); // Sets the trigPin as an Output
    pinMode(echoPin, INPUT); // Sets the echoPin as an Input
    Serial.begin(9600); // Starts the serial communication
}

void loop() {
    // Clears the trigPin
    digitalWrite(trigPin, LOW);
    delayMicroseconds(2);
    // Sets the trigPin on the HIGH state for 10 micro seconds
    digitalWrite(trigPin, HIGH);
    delayMicroseconds(10);
    digitalWrite(trigPin, LOW);
    // Reads the echoPin, returns the sound wave travel time in microseconds
    duration = pulseIn(echoPin, HIGH);
    // Calculating the distance
    distance = duration*0.0343/2;
    // Prints the distance on the Serial Monitor
    Serial.print(“Distance: “);
    Serial.println(distance);
}
Code Explanation
- Initially we define the “trigPin” and “echoPin” which are to be connected to digital pins 2 and 6 respectively.
- Variable “duration” is used to save the pulse with duration output from the Echo output of ultrasonic sensor.
- Variable “distance” is used to calculate and save the distance.
- As you might already know setup function will only once during the beginning of the program. In that we are setting the TRIGGER pin as the output and ECHO pin as the input.
- We also initialize the serial communication (UART) port with a baud rate of 9600.
- As you might already know the loop function will run continuously. In this we are sending trigger pulse and read the echo pulse width to calculate distance.
- Initially we send a 10μS HIGH pulse to trigger pin, which triggers the HC-SR04 to send an ultrasonic burst.
- Then we monitor the ECHO pin to read the time taken by the ultrasonic burst to return back to the sensor. Then this information is stored in the variable “duration”.
- So, the distance is calculated by using the formula we derived above.
- Finally, the output is printed on the Serial Monitor.
Output
Conclusion
Hope you understand about HC-SR04 ultrasonic distance sensor and how to interface it with Arduino Uno. Feel free to modify above code as per your applications. For any doubts, comment box is always open for you below.


